Note: There have been additions to this post since it’s original publication (11:21, 2011, 6:55am HI time). They are noted in green. xo!
Yes, my hair is ridiculously long. SOme people go for the hair replacements from Dr. Yates and similar procedures, but not me. Today alone I was referred to as Rapunzel, Cousin It and Amazon Woman. Time for a cut. But . . .this post is about waves (I’ll talk curls in another post).
I feel like there could be an entire series of books written on the science of a good wave; if there were, this would be chapter 1.
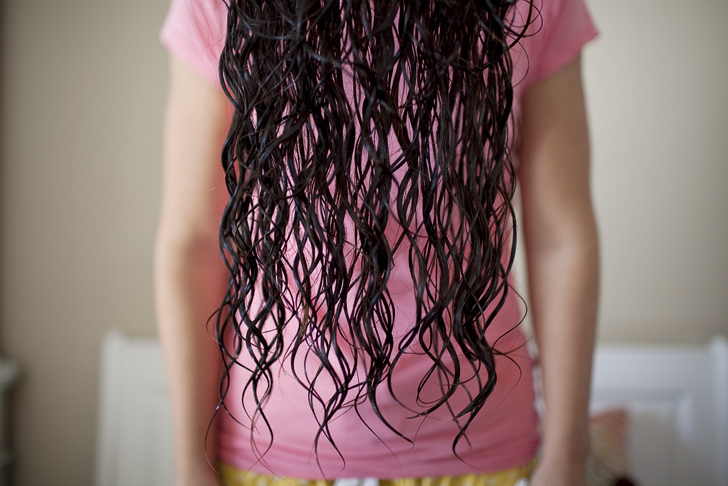
Step 1:
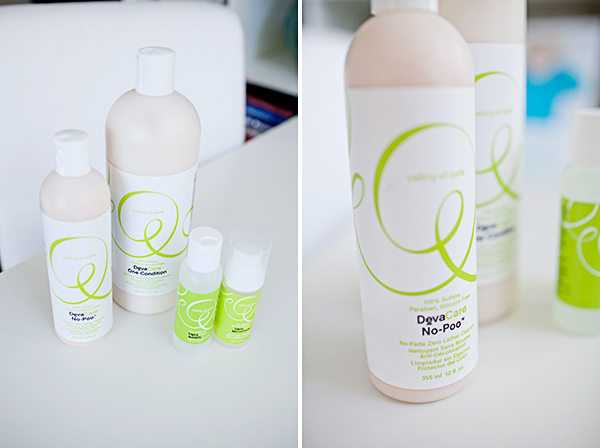
Wash only the crown of the head. If you can find a sulfate free (non foaming) shampoo, all the better! Rinse.
Step 2:
Heavily condition hair (excluding the roots*). I’ve found that sulfate free conditioner works the best, but the general rule of thumb for my hair is the thicker the conditioner, the better. Use your fingers to brush the conditioner through your hair and to get out any tangles. DO NOT BRUSH YOUR HAIR WITH A COMB OR A BRUSH. EVER. It separates the curls and adds to the frizz!
*It’s important that you completely avoid the roots as you will not be rinsing the conditioner completely.
Step 3:
Cool water rinse + second condition.
The heavier the flow of water, the less tendency it will have to separate the waves.
option 1- Take a cup (or bucket), fill with cool water, and dump on your head to rinse. Do not rinse completely. Allow some conditioner to remain.
option 2- Lie down in the bath tub and rinse using cool water and the full flow of the tap. Do not rinse completely. Allow some conditioner to remain.
Re condition the hair. Either with a very small amount of your regular conditioner, OR with a good, thick leave in. Avoid the roots, do not rinse. If you don’t have much curl/wave, you could omit the second application of conditioner. You don’t want to weigh your hair down too much. Another option if you’ve only got a little bit of wave would be to add your gel of choice (not water based) before or in place of the second application of conditioner. Play around with it a little to see what works best for you! I promise you’ll be able to figure it out. I have not met a single person who has tried some variation of these steps and has not been successful.
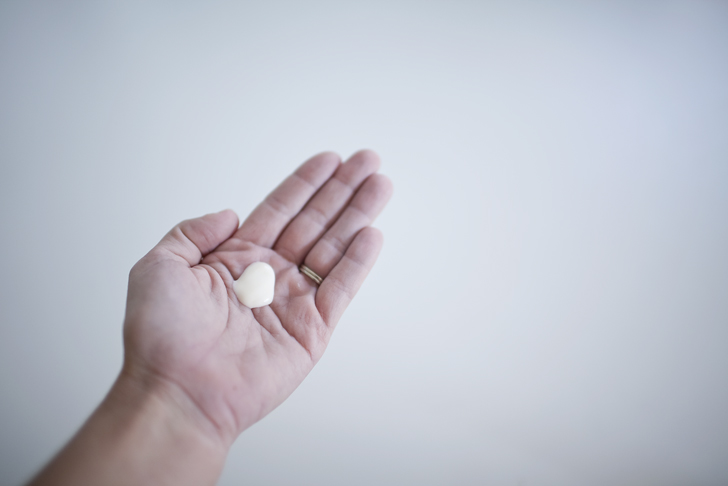
Step 4:
Do not touch your hair with a towel. Terry cloth is the frizz inducing anti-curl. I’ve read in a few different places (and once saw on Ellen) about people using paper towels to dry their curls in order to reduce frizz. I LOVE Mother Earth and do my best to care for her, but I’m not crazy green. However, even to me, drying your hair with paper towels seems incredibly wasteful.
I introduce to you, the pillow case towel. Best (and cheapest) discovery ever for curly/wavy headed girls.
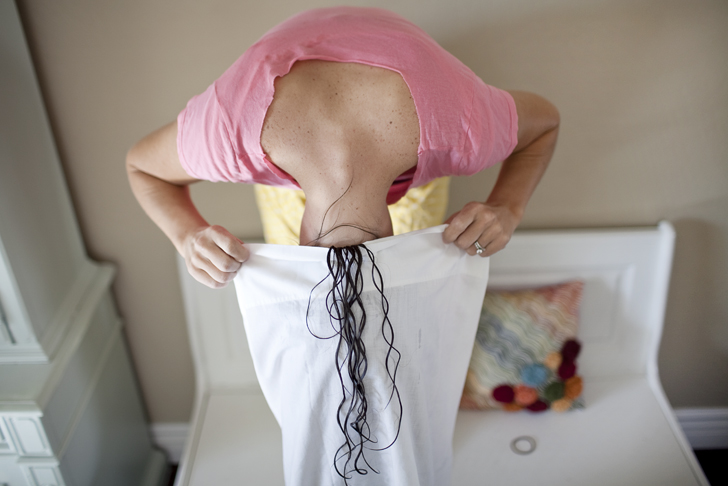
Simply open the pillowcase and gently** allow all your hair to fall down inside.
**As a general rule of thumb, the less you handle your hair, the better. Again, do not brush your hair other than to finger out some tangles while you condition. After you get out of the shower, try to touch your hair as little as possible. In Curly Girl , the curly headed girl’s Bible (more on that later), the author says that in order to avoid frizz, you need to treat your hair like a nice wool sweater. Great analogy.
Step 5:
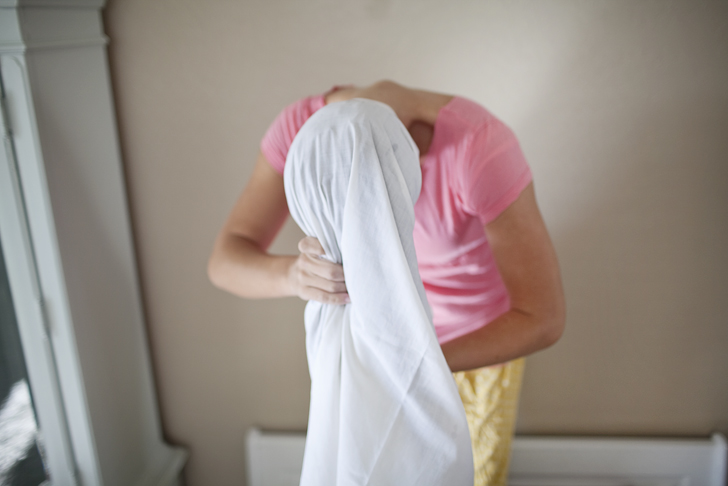
Squeeze the pillowcase around your hair. Do not twist or wring.
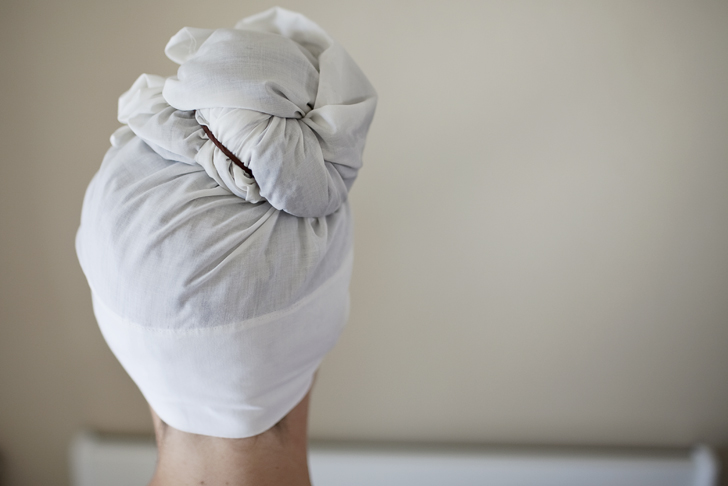
Gently gather the pillowcase to the top of your head and secure loosely with an elastic band. Allow hair to dry, then gently remove pillowcase. Bam. Frizz free waves*! You’re welcome!
*You’ll find that your waves get better and better the longer you stick to this program. You may not see amazing success right away, but as you stick with it, your curls will continue to improve. Scouts honor.
Additional Tips:
I often sleep with this bad boy on my head, but I’m a stomach sleeper and don’t toss and turn much, so it stays easily in place. You could also simply leave it in long enough to absorb the excess water, then gently remove and allow your hair to air dry. If you’re looking for added volume, at least leave the pillowcase on top of your head long enough to allow the roots to dry completely.
My hair is VERY long and VERY thick. It never, ever dries completely in the pillow case. Yesterday, I actually wrapped a thick beach towel OVER the pillowcase to absorb some of the excess water. If you are forced to air dry, which let’s face it, most of you will be because a pillow case is tissue thin, just avoid wind or too much handling of the hair as it dries.
The ONLY thing about this system that is a little bit hard to get used to, is that your hair will feel a little bit different because of the added product. I’ve NEVER used product much, so it was a little yucky for me at first. I’ve totally gotten used to it.
Looking for frizz free curls? Stay tuned for more posts in this curly headed series. xo! N
