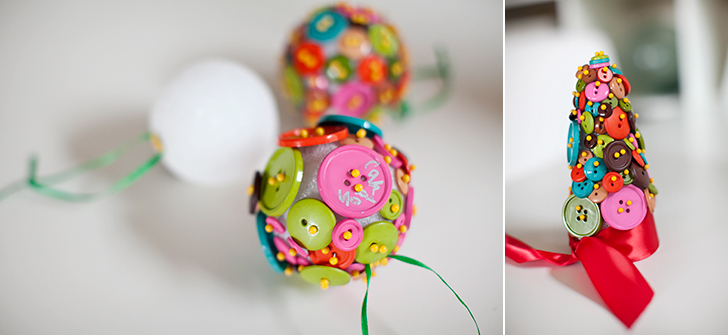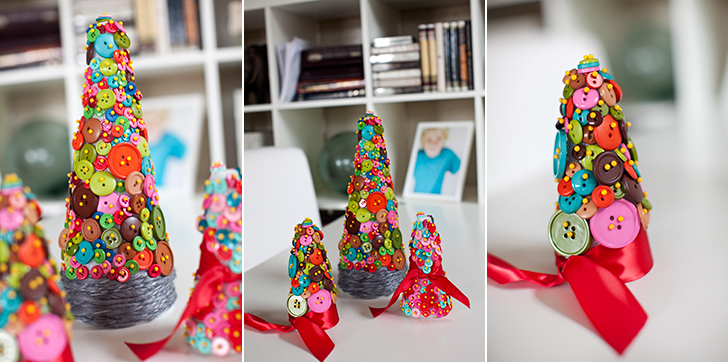
I deserve less than zero credit for the origination of this DIY. My sister-in-law, Heather, posted something like this over 3 years ago here, aaaaaaaand my mother-in-law was the one who brought the idea back to my attention after I saw the ornament crafts she did with the boys while I was away filming for The Generations Project. I’m not nearly awesome enough to come up with something like this all by my lonesome.
When Heather originally posted this, she recommended you use a hot glue gun to first get the buttons in place. That seems like an unnecessary step to me (even if her tree does look a lot tidier than mine). Granted, Heather did originally write this before she had kids, so a) she had 7 million times the time available to her and b) she didn’t have any reason to be worried someone would get a third degree burn. . . ooooorrrrr . . . decide that hot gluing their hands to their face was the best idea EVER.
Now, I think it is important to point out the fact that the idea to add the ribbon came from my very own brain, thank you very much. . . unless Cardon actually thought of it. Now that I think of it. . .


Cardon’s beautiful creations.
I don’t like outlining projects like this step by step. It’s blatantly obvious how this process works, and I certainly wouldn’t want to insult your intelligence. But I will say this:
Tips for Success:
1. Don’t let your 5 year old get a hold of the buttons. They are too, too, too fun to fling across the room.
2. If you push your push pins at a downward angle they won’t have the tendency poke out the other side and jab you in the hand on the thinner parts of the foam. (Also, there are lots of fun colors of push pins, we used yellow, because it’s what we happened to have lying around the house).
3. Listening to John Denver and The Muppetts while you work is highly recommended, though clearly not required.


